Hello guys,
Do you want to develop website even if you don’t have deep knowledge of developing??
Then today we are going to show step by step process to develop website for non technical person. Here is some basic stuff you have to done before going to develop website.
Professional developers always prefer to test their project on locally before they make them live. And if you want to test your website before make it live to users you have to install WAMP or XAMPP server. Here we are going to install WAMP server.
For install XAMPP server Visit How To Install XAMPP.
First of all you need to know that what is WAMP server. Basically, WAMP stands for Windows (operating system), Apache (web server), MySQL (database), and PHP programming language. It is a popular alternative of XAMPP for Windows. WampServer is a Web development platform on Windows that allows you to create dynamic Web applications with Apache2, PHP, and MySQL. WampServer automatically installs everything you need to intuitively develop Web applications. You will be able to tune your server without even touching its setting files.
So let’s get started.
Find video tutorial Here.
Step 1: Download the WAMP Server
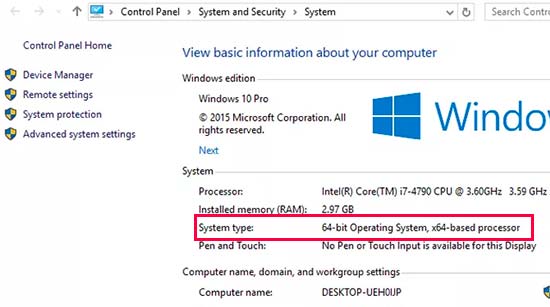
Go to the official website www.wampserver.com/en/ and download the WampServer setup. There are two versions of WampServer are available i.e. 64-bits (x64) and 32-bits (x86), choose according to your computer’s configuration.
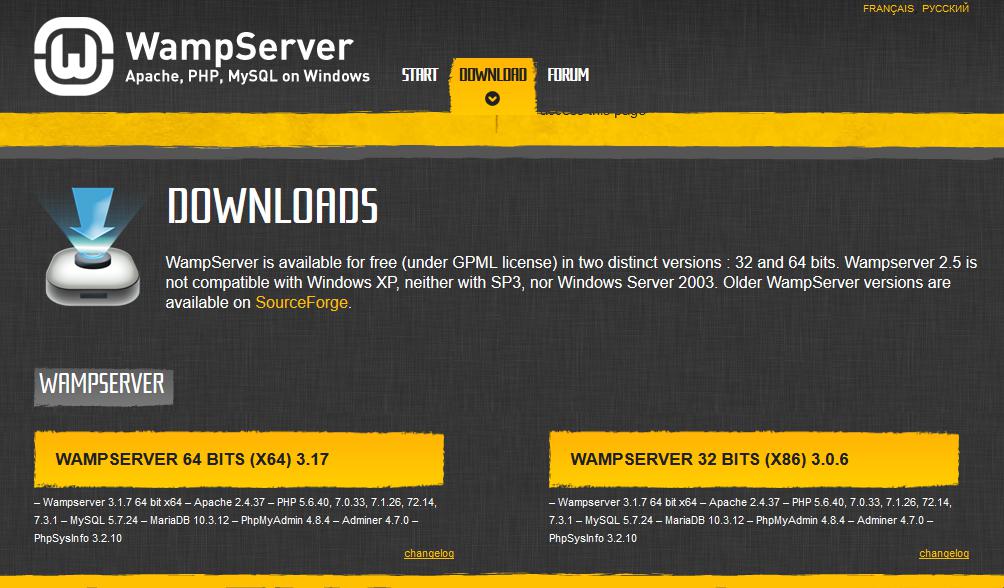
To find out whether you are using 32 or 64-bit operating system, go to Control Panel » System and Security » System in your computer. There you will be able to see your operating system type.
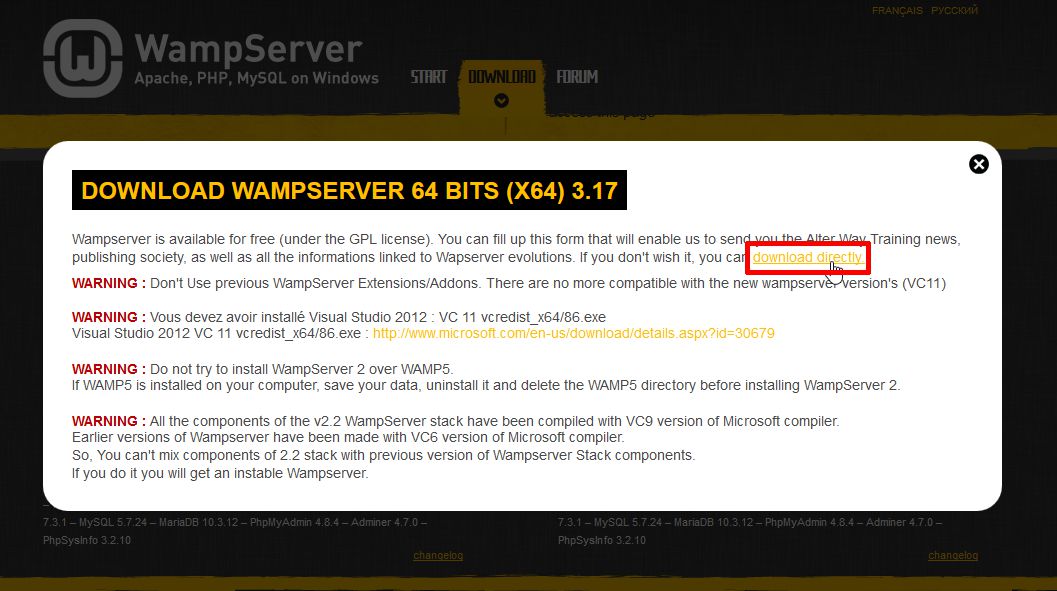
As soon as you will click on the download option, a pop up will appear showing some warnings. Just don’t worry about these warning rather simply click on the link “download directly” like shown below and move ahead with the download process.
Step 2: Initiate WAMP Server Install Process
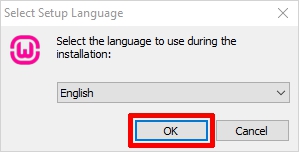
Soon after you click on the downloaded file, you will be asked to choose your preferred language and click the “Ok” button. As I’m choosing English here. See below.
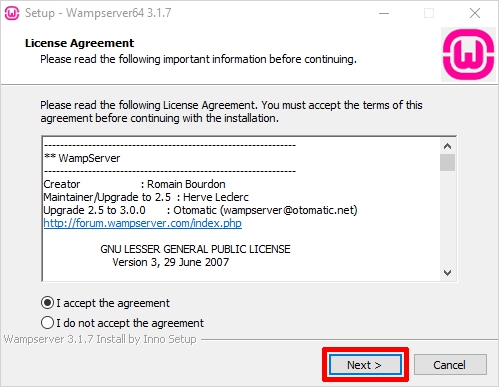
The next screen you will see is about the license agreement. Click on the “I accept the agreement” radio button and then the “Next” button to continue with the installation shown below.
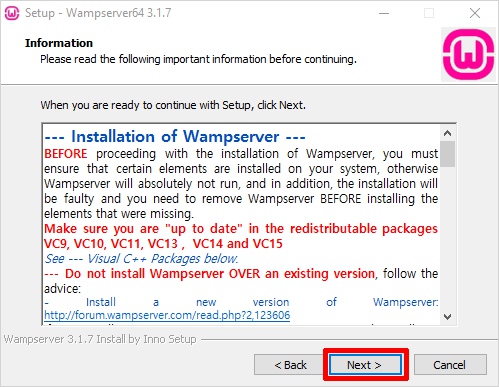
The next screen will inform you about the required components that have to be present in your computer system for the proper functioning of the WampServer. The main purpose of this step is to check for the suitable version of Microsoft VC++ re-distributable package. Click on the ‘Next’ to continue.
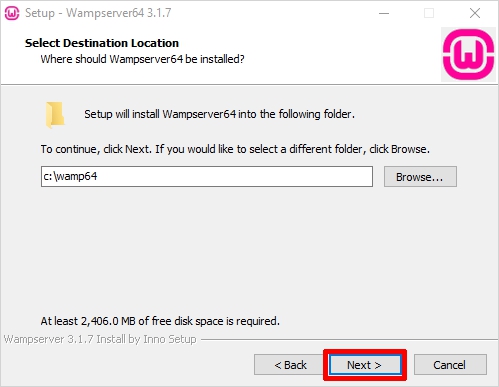
Step 3: Select Location/Destination to Install WAMP
Here, you need to select the location to install the WAMP on your computer. However, you can accept the default location and move ahead. To continue with the installation hit the ‘Next’ button.
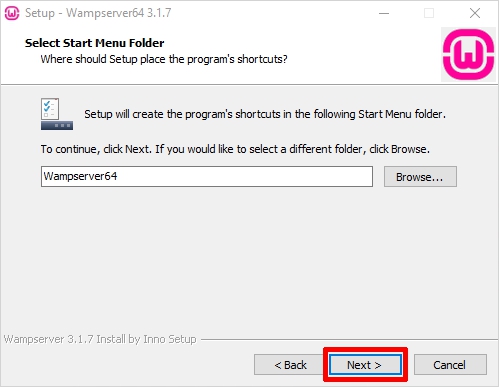
Step 4: Select Start Menu Folder to Install WAMP
Now, you need to select the folder where you wish to create the program’s shortcut. You can select any folder of your choice or you can continue with the default option. You can easily access this folder from the Windows start button. Choose the folder and click ‘Next’ to continue.
Step 5: Ready to Install WAMP
Finally, you would see a ready to install wizard with a ready setup to begin the installation. Just hit the ‘Install’ button to begin the installation procedure.

Now, just be patient as the WampServer is extracting files to your selected location. Let the process complete.

Once the status bar is turned fully green, an information screen will appear like the one shown below. Click ‘Next’ to continue.

Step 6: WAMP Installation Complete
The installation is almost done now simply click ‘Finish’ to exit the setup.

That’s all. You are ready with the WAMP server now.
In next step we are going to show how to download and setup wordpress.
Happy WAMPing
